![Untitled design (24)-1.png]](https://help.zenventory.com/hs-fs/hubfs/Logos/Untitled%20design%20(24)-1.png?width=60&height=60&name=Untitled%20design%20(24)-1.png)
To create a filter:
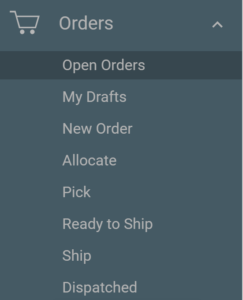
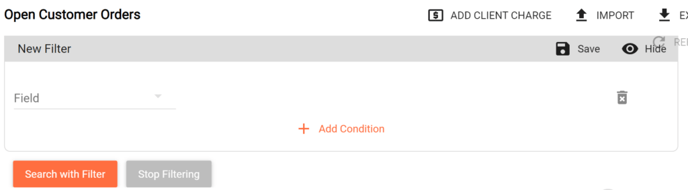
- Navigate to the “Orders” tab and select “Open Orders”.
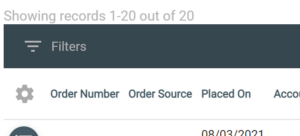
- Click “Filters” located within the orders list header.
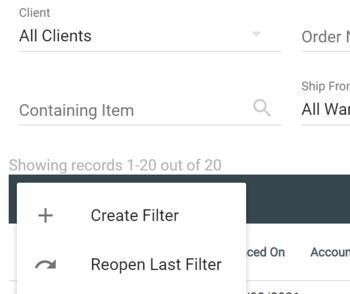
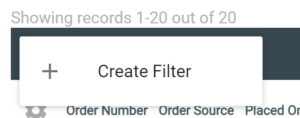
- Click “Create Filter” to begin.
4. From here, you can choose a field to use as a condition within the Field dropdown.
5. Adding a Value and selecting Search with Filter will sort through all available orders for the specified Field.
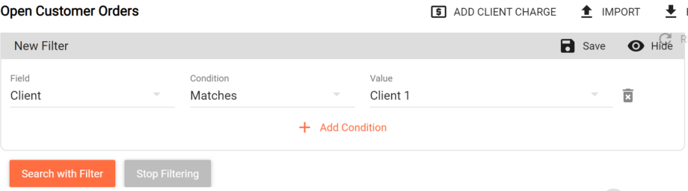
6. Multiple fields can be added and saved to a single Filter search by selecting + Add Condition at the bottom of the New Filter view. Subsequently, the filter can be saved by selecting the Save button in the top right hand corner of the Filter view. Note: Selecting Hide minimizes the created filter view box so only the header “New Filter” will show.
7. Name the filter, and if you check the Share with Team box, the saved filter will be available to all users on your team. Note: Leaving Share with Team unchecked will save the filter for personal use only.

8. Finally, clicking Search with Filter will return results that align with your selected Field(s), Condition(s), and Value(s).
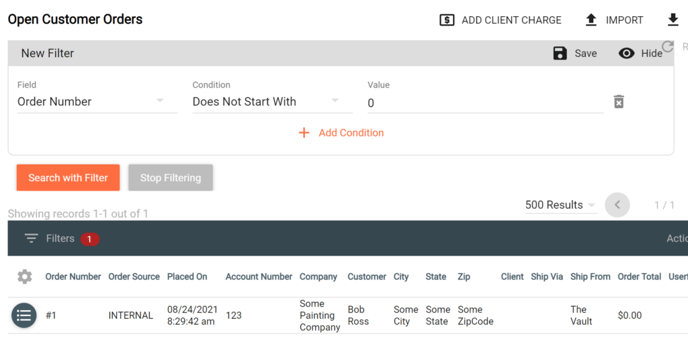
Note: The red number next to the Filters button indicates that there is a filter active. To remove the current Filter, simply click Stop Filtering.
Additionally, if Stop Filtering is selected and another search of the same filter needs to be run, clicking Filters button will show a Reopen Last Filter button to click to re-run the most recent search.