![Untitled design (24)-1.png]](https://help.zenventory.com/hs-fs/hubfs/Logos/Untitled%20design%20(24)-1.png?width=60&height=60&name=Untitled%20design%20(24)-1.png)
For each 3rd party client that keeps inventory in your warehouse, you'll need to create a 3PL Client in Zenventory. Each 3PL Client will have their own separate record of inventory, suppliers, and marketplace integrations. While their inventories may all be housed within your physical warehouse together, our system will track everything independently per client, giving them insight into their personal stock levels and order activity exclusively if you choose to provide them online access.
NOTE: 3PL must be an included feature of your plan and it must be enabled on your account (see Enabling 3PL functionality).
Setting up a new 3PL client
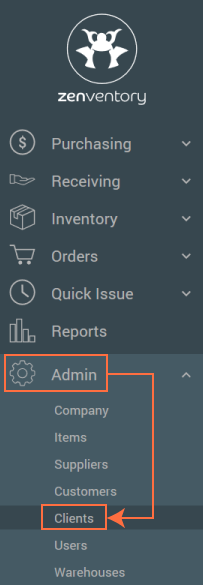
- Navigate to the Admin tab, and click "Clients".
- Click "New Client".

- Enter all necessary contact details.

Giving your new 3PL client access to Zenventory
If you would like your 3PL clients to have a portal into Zenventory to view their stock, view customer orders, or any other tasks, you must also create them a User account. Follow all the usual steps from the Create and Manage Users guide, the only difference being when 3PL is enabled in your account, you'll have an additional field to select which 3PL Client to associate the new user account to. Same as when creating a standard user, you'll have the ability to set specific permissions granted to this user, allowing you to manage what information they see and what actions they are allowed to take when logged in.