![Untitled design (24)-1.png]](https://help.zenventory.com/hs-fs/hubfs/Logos/Untitled%20design%20(24)-1.png?width=60&height=60&name=Untitled%20design%20(24)-1.png)
This article will show you how to create, prep, and send a shipment to Amazon FBA fulfillment centers. These will work as a warehouse transfer from one of your Zenventory warehouses to one or more Amazon FBA Fulfillment Centers. When creating the transfer, Amazon chooses the quantity of each item will go to specific FBA Fulfillment Centers and will create the respective number of warehouse transfers in Zenventory.
Create/Manage a Shipment to Amazon FBA Fulfillment Centers
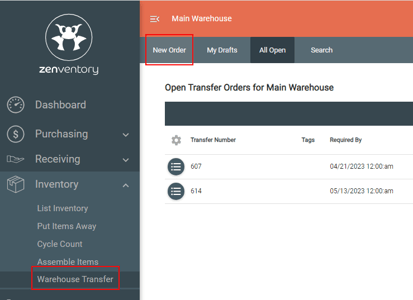
- Go to Inventory>Warehouse Transfer and select "New Order".
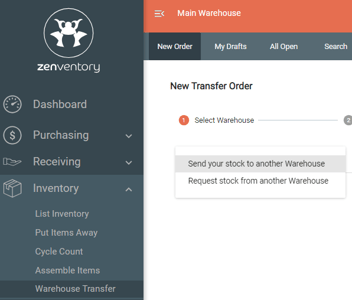
- Choose "Send your stock to another Warehouse" as the transfer type, Amazon FBA as the Deliver to Warehouse, the correct client (Enterprise account plan), and the required by date. NOTE: The required by date is the date you are telling Amazon the shipment will be ready and that will be the day they send the pickup truck to grab it. Hit the next button to move onto adding items and quantities.
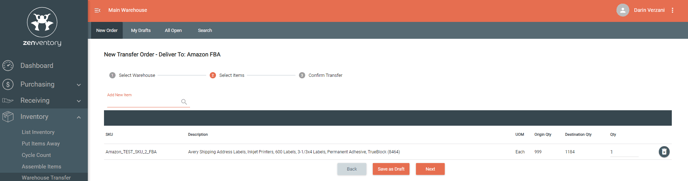
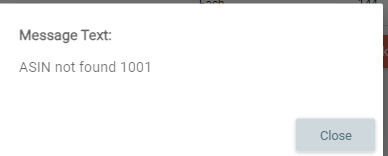
- Enter your items and quantities to send. In order for an item to be attached to a warehouse transfer to FBA, it must be connected to your Amazon account and have an ASIN value. If you try to finalize a transfer that has items on it that are not connected, our system will prompt you which ones do not. Hit the next button to review and finalize the new transfer order.
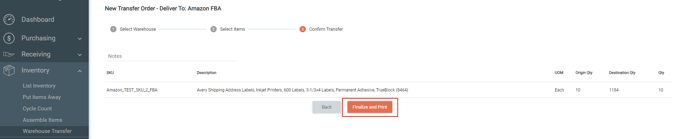
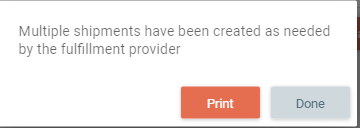
- Hit the "Finalize and Print" button to complete your transfer order. Amazon will automatically create the number of transfer orders they need depending on their logic for routing your items and quantities to their different FBA Fulfillment Centers.
- Once created a warehouse transfer needs to be taken through the normal allocation and picking process of fulfillment, depending on your system automation settings.
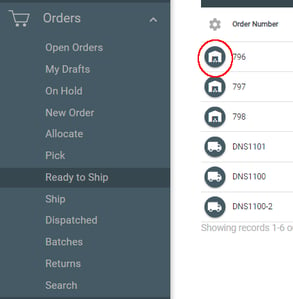
- Once the order (s) have been picked, then you will see them on the Orders>Ready to Ship page. Click the "Ship From Zenventory" icon to the left of the transfer order number to pull up the FBA Shipment Prep module.
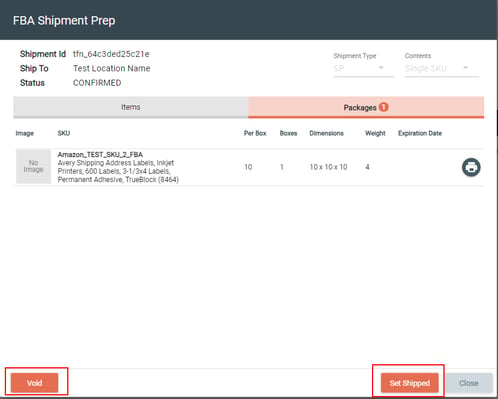
- FBA Shipment Prep
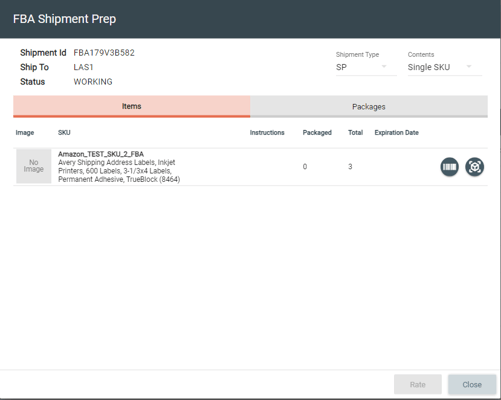
- Choose your Shipment Type: Small Parcel (SP) or Freight (LTL).
- Contents: Single SKU or Mixed SKUs. If Mixed SKUs is chosen, you then will enter the amount of boxes
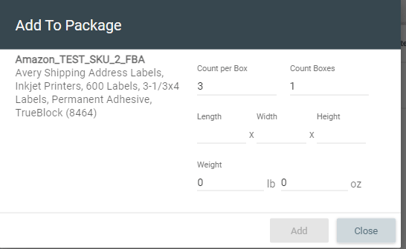
- Enter item specific packaging information: click the "package" icon on the right. Enter in the required information and hit the Add button once complete. Once package details have been entered, you will see those details on the "Packages" tab. If you need to remove already created package details for a SKU, then hit the trash can icon.
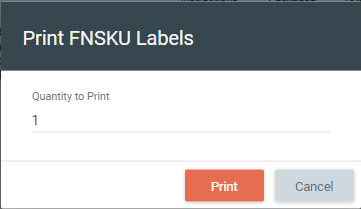
- Print FNSKU labels - hit the barcode icon on the right to print the required FNSKU labels that Amazon needs. Input the quantity of labels to print and hit the "Print" Button.
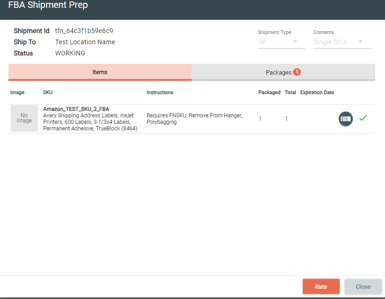
- Item Prep Instructions - Amazon has specific item prep instructions that will show up in the Instructions column. You also have the ability to assign your own instructions as well on the Admin>System>Items and the Integration Mappings page from within a specific item's details.
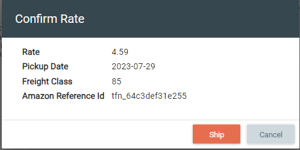
- Hit the "Rate" button once all details have been entered to check the rates. If you are 100% ready for Amazon to pick up the order, then hit the Ship button. That will commit the order for Amazon to come pick it up. If you then need to void the accepted shipment you can hit the void button.
- The last step in the process is to mark the order as shipped manually once Amazon has picked it up. Hit the "Set Shipped" button to mark the order as shipped. Amazon does not automatically send any updates when a shipment has been picked up, and that is why this is a manual process in Zenventory.