![Untitled design (24)-1.png]](https://help.zenventory.com/hs-fs/hubfs/Logos/Untitled%20design%20(24)-1.png?width=60&height=60&name=Untitled%20design%20(24)-1.png)
Warehouse transfers are used to ship items between warehouses. If you're looking for sub-location transfers instead (moving from "Point A" to "Point B" inside a particular warehouse), see this article.
To begin a warehouse transfer:
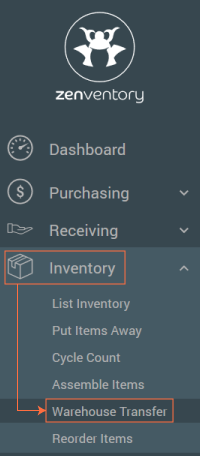
- Navigate to the “Inventory” tab and Select "Warehouse Transfer".
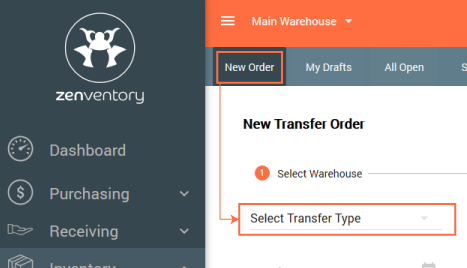
- Select the Warehouse the transfer is coming from (orange pulldown menu) and click “New Order”. Choose a transfer type and click "Next".
Sending stock to another Warehouse
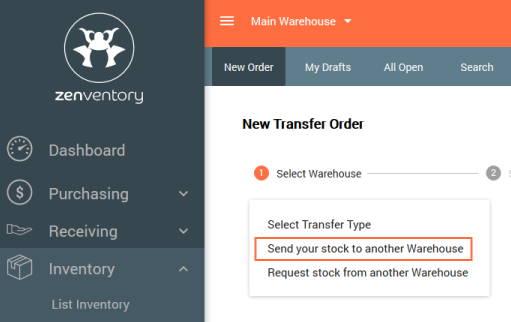
- Select “Send your Stock to another Warehouse” from “Select Transfer Type” drop down. Enter the "Required by Date" and "Time" and click "Next" to Add New Item (s). Both are required to move on to adding items for the transfer order.
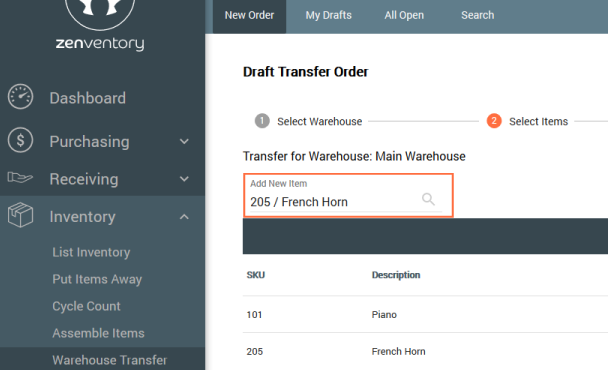
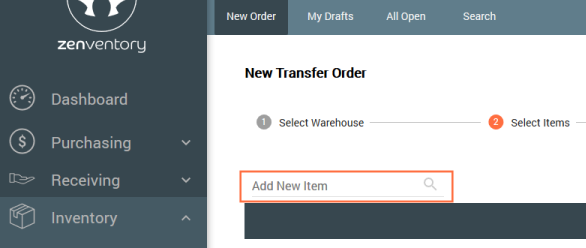
- Select “Add New Items” by typing in a SKU or Description to activate the search list. Note: This will save progress on warehouse transfer and a transfer order number will be assigned. After, add the quantity to the item you've added.
- Save item using the disk icon
 to the right of the item. *repeat steps 2 and 3 for as many items as you need to add to this particular transfer order.
 - Click "Next"
 to move to the confirmation page.
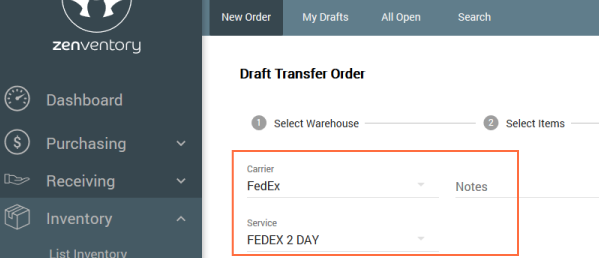
 - Select the Carrier, Service, and any notes you need to provide then click “Finalize and Print”. The transfer order receipt will generate as a PDF, and the order moves to “Open Transfer Orders" in the warehouse transfers.
- After initiating a transfer, warehouse transfers go through the same process as a customer order when it comes to fulfillment: Allocation, picking, and shipping. For example, a transfer order must be shipped from Warehouse "A" before it can be received into Warehouse "B". Details on this process can be found in the following article: https://help.zenventory.com/knowledge-base/order-fulfillment/
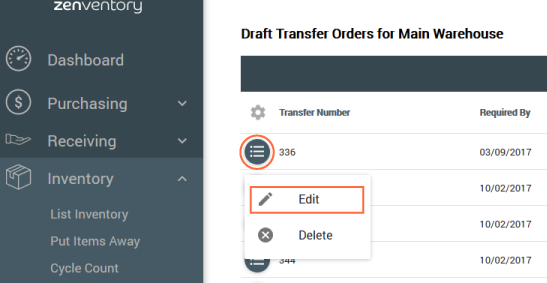
Editing Warehouse Transfer Orders
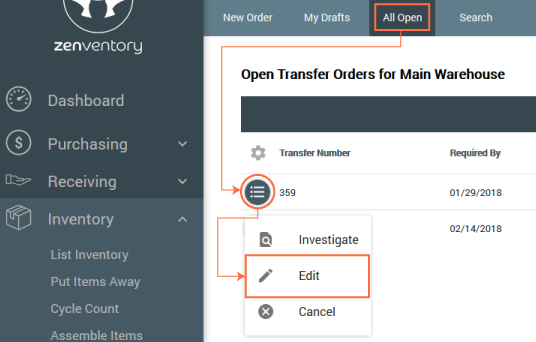
- Navigate to Inventory > Warehouse Transfers > Open Transfer Orders for the specific warehouse. Click the circle icon and select "Edit".
- “Deliver To” warehouse
- "Required by" date
- Items (deleting, adding, change quantity)
- Carrier, service, and notes
- Select “Save and Re-Print” to complete and save changes.
Re-Print Transfer Orders
- Navigate to Inventory > Warehouse Transfers > Open Transfer Orders for the specific warehouse. Click the circle icon and select "Print".
OR - Navigate to Inventory > Warehouse Transfers > Search Transfer Orders for the specific warehouse. Click the circle icon and select "Print".
Receiving a transfer order
- Note: Before receiving a Warehouse Transfer, it must have been marked as "Shipped" from the origin warehouse.
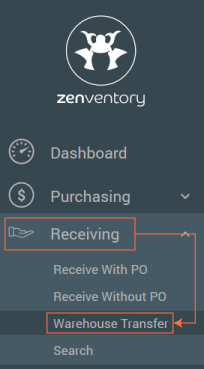
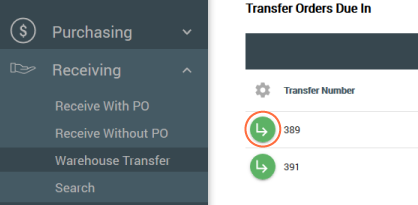
- Start in the Receiving section and select "Warehouse Transfer".
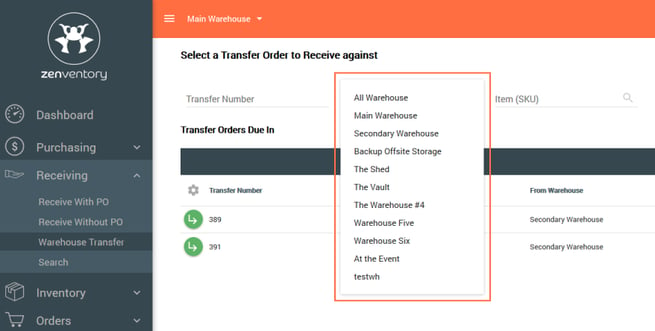
- Select the Warehouse the order was shipped to in the top right Warehouse drop down.
- Select icon for “Select this Item” to the left of the order to open Warehouse Transfer order.
- Add notes if needed and select receiving location in the Warehouse.
- Select “Click to receive this Item” icon to the left of the order.

- Enter in the quantity of items received and click
- Defaulted to item quantity placed on order.
- If quantity received is different from the quantity ordered, a pop-up will alert you.
- Review and select “Accept and Close”.
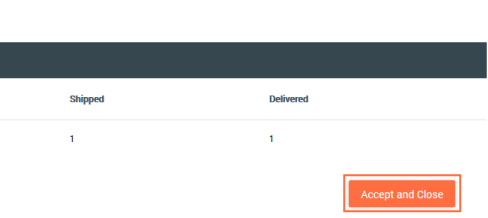
- Click "OK" to accept and close the order.
Requesting Stock from another Warehouse
- Select the Warehouse from the top right drop down menu that you want stock to be transferred to.
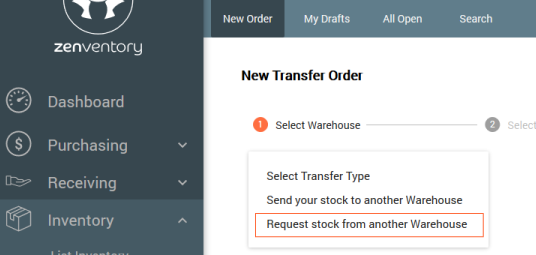
- In “Inventory” tab, select “Warehouse Transfer”.

- Select “New Order” and choose the transfer type: "“Request Stock from Another Warehouse”.
- For the “Request From” field, select the warehouse and enter a "Required By" date. NOTE: Warehouse must have an address and be enabled for transfers in Zenventory. Click "Next" to move to item section.
- Enter Quantity and click the Save icon to the right of the item.
- Click "Next" to move to confirmation page.
- Review Transfer Order, selecting a carrier and service if needed along with any useful notes.
- Select “Request Transfer”.
*Please note: the transfer order requests go directly into "My Drafts" upon hitting the "Request Transfer" button. The requested warehouse must approve the transfer order by following the steps below.
Approving a transfer request
“Request From” transfer orders need to be approved by the requested warehouse.
- In the “Requested from” warehouse, navigate to “Inventory” tab and “Warehouse Transfers”.

- Select “My Drafts”.

- Select icon for “Select this Item” to the left of the transfer order request you wish to approve.
- From this step on, follow the standard process for a warehouse transfer (see Sending stock to another Warehouse).
- Once those steps are complete, use the standard receiving process at the receiving warehouse (see Receiving a transfer order).