![Untitled design (24)-1.png]](https://help.zenventory.com/hs-fs/hubfs/Logos/Untitled%20design%20(24)-1.png?width=60&height=60&name=Untitled%20design%20(24)-1.png)
To create a new item
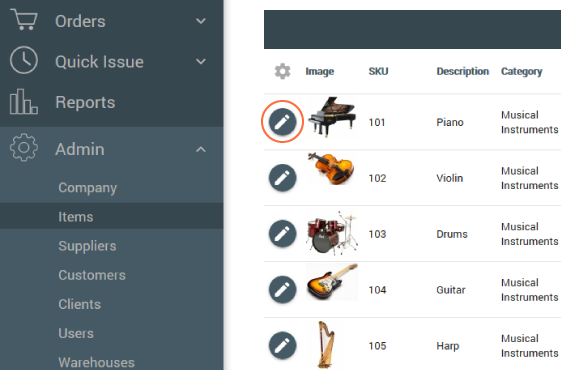
- Navigate to the Admin Tab, and select Items from the drop down menu.
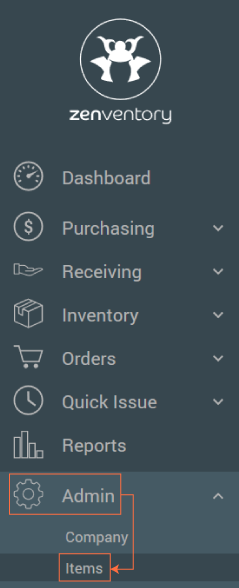
- Select New Item

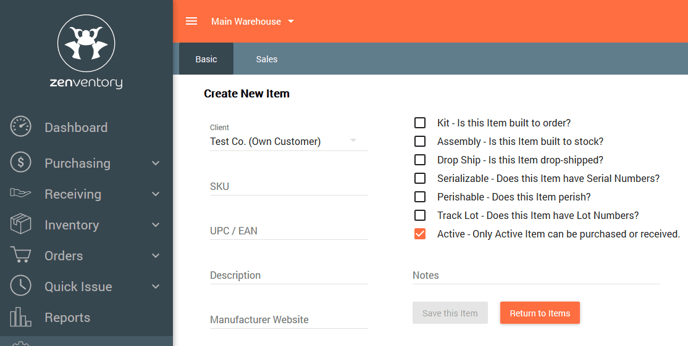
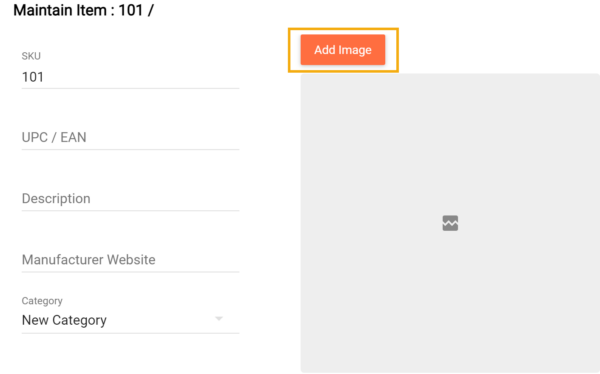
- Enter the properties of an Item on the Basic Details page. Note: Once the required details have been filled out save the Item. SKU (40 character limit) and Description are required.
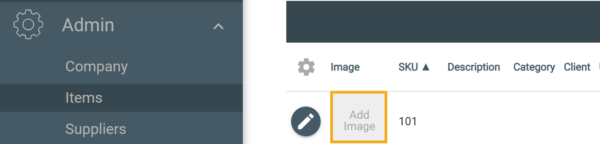
*Attaching an image to an Item* - After the new item has been saved, an image can be associated with that item. There are two ways to attach an image.- From the Admin>Item page, click on the "add image" box next to the item.
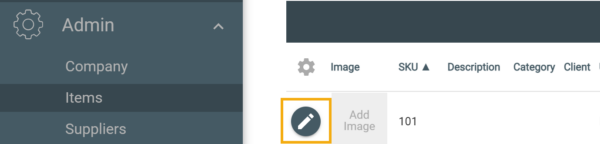
- From the Admin>Item page, click on the pencil icon to the left of the item SKU #. This will pull up the item detail page. Click on "Add Image" to select the desired image.
- From the Admin>Item page, click on the "add image" box next to the item.
- Check boxes can be selected to activate additional functions.
-Kit Items enable the Bill of Materials tab. Kits are not individual items.
-Assembly items are built to order based on custom individual items. e.g. A blank T-shirt with a custom heat press vinyl logo.
-Drop Ship Items bypass the normal allocation and picking processes, since they are fulfilled elsewhere.
-Serializable Items require the User enter a unique value for each SKU put against the inventory.
-Perishable Items require the User to track a Perish-by date for incoming Items.
-Lot Items require the User to track set Lots for Items, which are organized with Inventory View.
- Active: only active items can be purchased or received. - To set Unit of Measurement: Select the Units tab. Select the Base Unit of Measurement (UOM) and set the quantities in which this Item will be Purchased and Ordered.
- On the Warehouse tab, assign this Item to at least one Warehouse so that it is active for Orders and Receiving. Select the pencil icon to bring up the Assignment window.
-Re-Order level is the amount at which a restock notification is triggered.
-The Re-Order Email is where the notification will be sent.
-Par Level is the Average stock set for this Item at the Warehouse. Suggested Par Level works off the last 30 days of activity.
-Checking By Location will manage this on a location-by location basis using a separate option.
-Manage the Re-Order amount and quantity the Item will be Replenished To.
-Warehouse Location is the default put-away location in the Warehouse. - On the Supplier tab, add the Item to a Supplier's catalog. Enter a unique Item Code, Price, Lead Time for orders, and Minimum Order Quantity.
- The Sales tab contains information that will appear on Customer Orders.
- The Shipping tab is where a Packaging Factor is managed. This Factor will add weight to cover the packaging process. This information relates to shipping fees.
- Global Packaging Factor (GPF) is located in System Settings. Any Factor set on this page will be added to or override the Global Factor.
- The Marketplace tab contains information if this Item originated from an Integration.
- If the item is a Kit, the Bill of Material tab will be available. On this page, enter the items that this kit contains. Search for the desired items and enter a quantity.
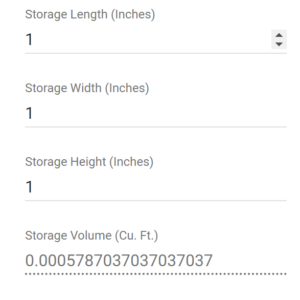
4. Finally, near the bottom of the left hand column there are fields to enter the storage length, width, and height in inches. The cubic feet will automatically calculate. This is particularly helpful for those who charge a fee for storing items in a warehouse and breaking it down by cubic feet can provide a more accurate idea of storage space in a given tub of storage space.
To modify an existing item
- Navigate to the Admin Tab, and select Items from the drop down menu.
- Click the "Edit Item" icon to the left of the item you would like to modify. Make required changes to any field.
- Click "Save this Item" to finalize the edit.