![Untitled design (24)-1.png]](https://help.zenventory.com/hs-fs/hubfs/Logos/Untitled%20design%20(24)-1.png?width=60&height=60&name=Untitled%20design%20(24)-1.png)
Prerequisites
- Must have an active BigCommerce account. If you don't have one yet, click here.
- Must have an active Zenventory account on the Pro plan or above. If you don't have one yet, click here.
- For items to receive updated inventory levels from Zenventory:
- All items must have SKUs assigned. If you need help adding these, BigCommerce offers an easy guide on this here.
- On the Inventory Tracking tab in BigCommerce, non-variant items must have the option selected for "Track inventory for this product".
- On the Inventory Tracking tab in BigCommerce, variant items must have the option selected for "Track inventory by options".
BigCommerce Integration Functionality (updated 03/24/2020)
- Pulls any new items and quantities from BigCommerce into Zenventory (only if the item has a SKU assigned, and only if the item doesn't already exist in Zenventory). Note that product thumbnail images do not import from BigCommerce to Zenventory currently.
- Pulls orders from BigCommerce into Zenventory that are in the "Awaiting Fulfillment" status ** Optional setting
- Pushes inventory stock levels from Zenventory to BigCommerce ("Sellable" quantity for regular items, "Buildable" quantity for kits) ** Optional setting
- Pushes shipment info from Zenventory to BigCommerce, including tracking information
- Updates order status from Zenventory to BigCommerce when orders are completed, cancelled, or shipped
- Updates order status from BigCommerce to Zenventory when orders are cancelled or edited ** Optional setting
Update interval (maximums):
- All functions: 10 minutes
Connect BigCommerce to your Zenventory account
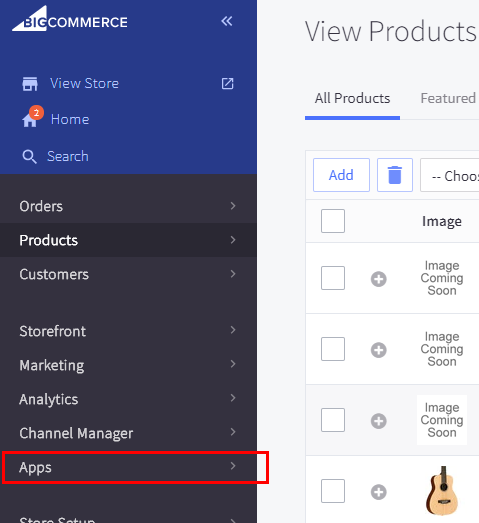
- Login to your BigCommerce store and select "Apps". Or go directly to the App Marketplace here.
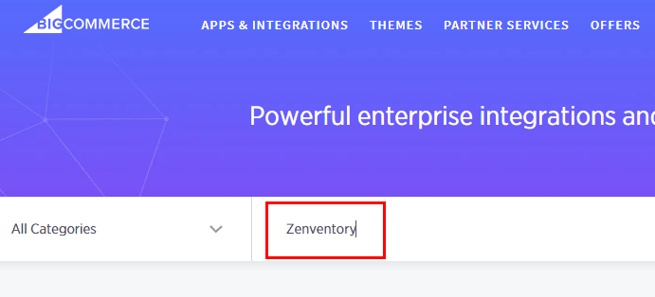
- In the search field, search for Zenventory.
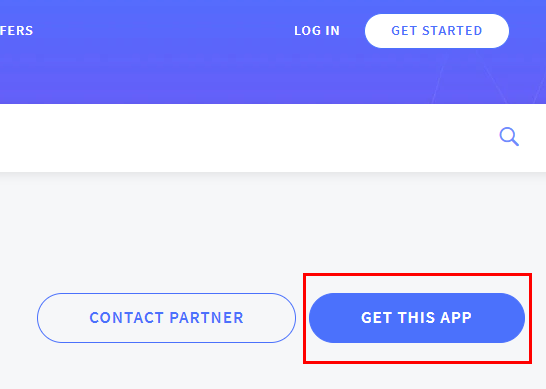
- Click the button for "Get this app".
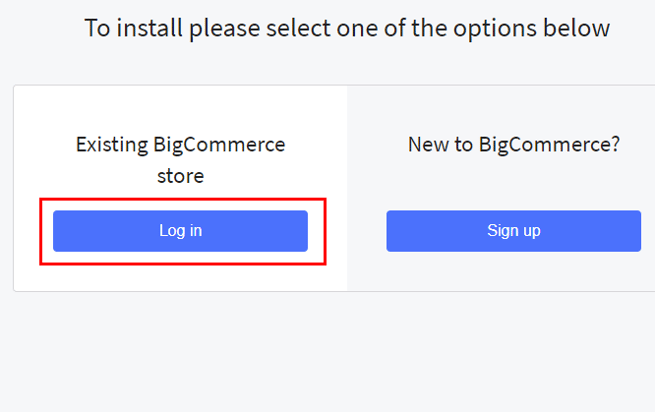
- When prompted, click the "Log in" button. This will bring you back to the BigCommerce interface to finish the process.
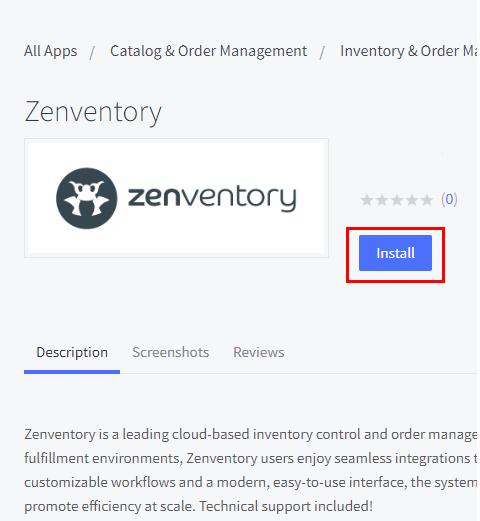
- Click the button for "Install".
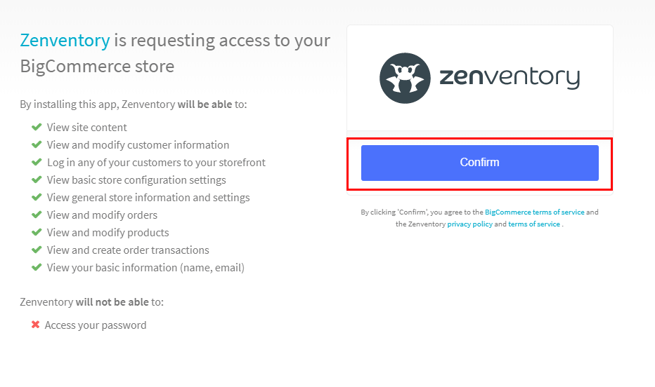
- Zenventory will request access to relevant data from your BigCommerce store. Click "Confirm" to accept and continue.
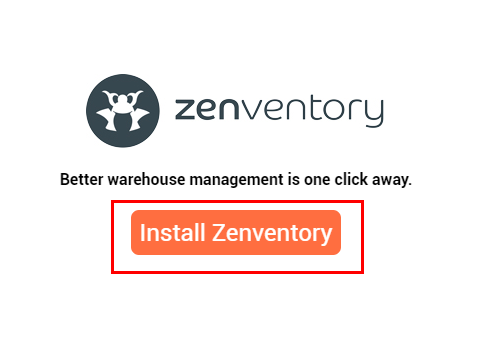
- Click the button for "Install Zenventory".
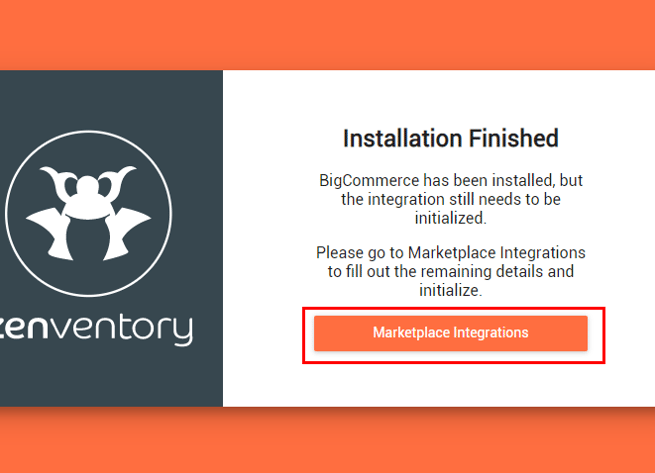
- If you aren't already logged into Zenventory, you will need to log in now. Once you are logged in successfully, you'll see a confirmation screen that the installation is finished, and be prompted to finish setting up the integration from within Zenventory. Click the "Marketplace Integrations" button to continue.
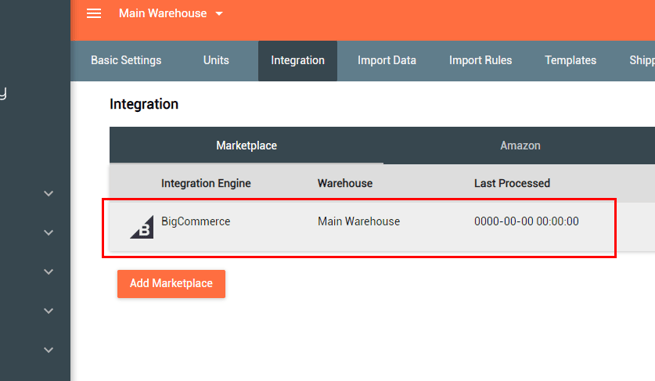
- From the marketplace integrations screen, click the new BigCommerce integration to begin configuring the options.
- Fields to fill:
- Store Name: This is a simple label to help identify this specific integration (can be anything you want, or can be left blank)
-Stock Warehouse: Choose the warehouse that will be sending stock updates to BigCommerce. If more than one warehouse is selected, the quantity will be the combined sum of all selected warehouses.
- Warehouse: This is the warehouse where starting inventory will be imported during initialization, and the default Ship-From Warehouse where orders will be regularly imported for fulfillment. ** NOTE: If you do not select a warehouse here during the setup process, no inventory quantities will import with your products from BigCommerce into Zenventory.
- Importing User: This is the user that will be tagged as the one responsible for any transactions that enter the system via the BigCommerce integration. A user must be selected here for automated synchronizations to occur.
- *Optional setting: Update Stock Levels Only. This setting will disable all functionality of the integration except for the Update Stock Levels function. Good to use if you're using a different program for order management outside of Zenventory, such as ShipStation, ShippingEasy, or ShipWorks.
- *Optional setting: Do Not Update Stock Levels. Disables the updating of stock levels completely while leaving all order management functionality enabled. Useful only if you don't want Zenventory to post inventory back to BigCommerce for any reason.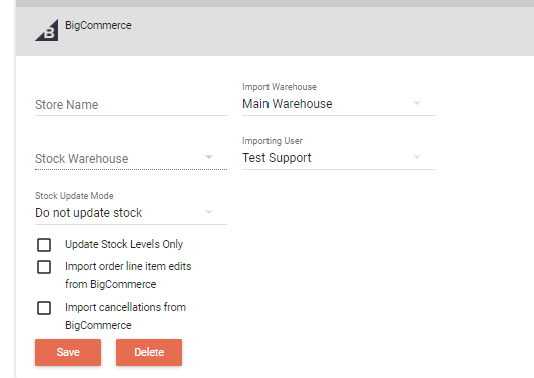
- When you're finished, click "Save". NOTE: You must hit Save prior to clicking initialize.
- Click "Initialize". It may take up to a few minutes to finish depending on the amount of data in your BigCommerce account, so don't leave the page until the loading indicator and the Initialize button disappear. Then you're all done - Enjoy all the cool features of your new BigCommerce integration!