![Untitled design (24)-1.png]](https://help.zenventory.com/hs-fs/hubfs/Logos/Untitled%20design%20(24)-1.png?width=60&height=60&name=Untitled%20design%20(24)-1.png)
By default, when new inventory is received, it simply goes into your warehouse's global default location. You can set which location is the global default in your warehouse settings.
However, if you enable the Auto Put Away setting and assign an alternate default location for specific items in your catalog, any new inventory you receive can be automatically marked as stored in the appropriate assigned location instead. You can assign these by item with a simple CSV import, or through the interface by following the steps below.
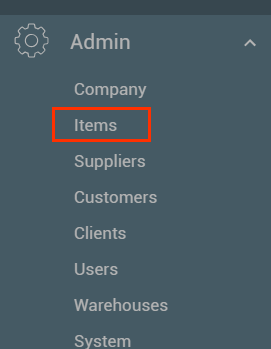
- Navigate to the Admin section and select "Items".
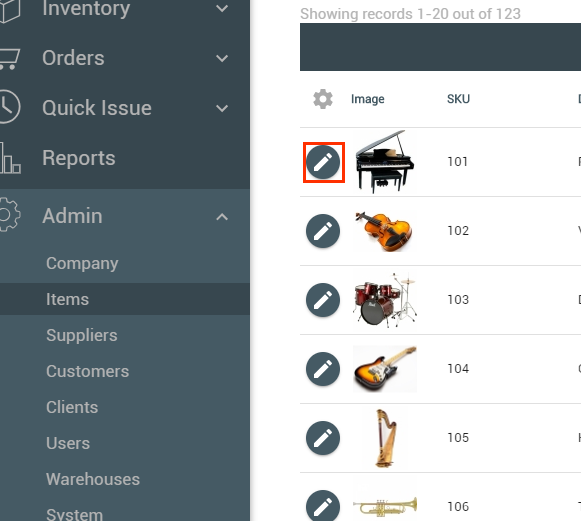
- Edit the item you would like to assign to a location by clicking the pencil icon to the left of that item.
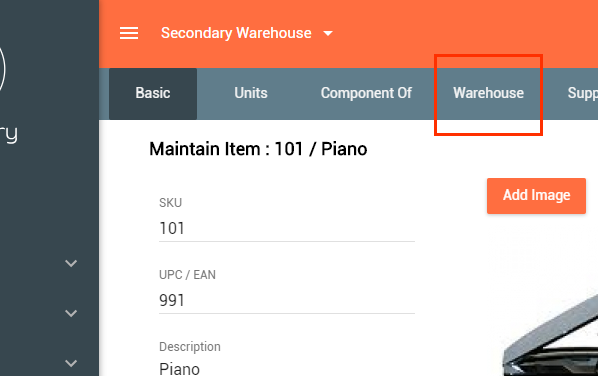
- Select the "Warehouse" section from the top submenu.
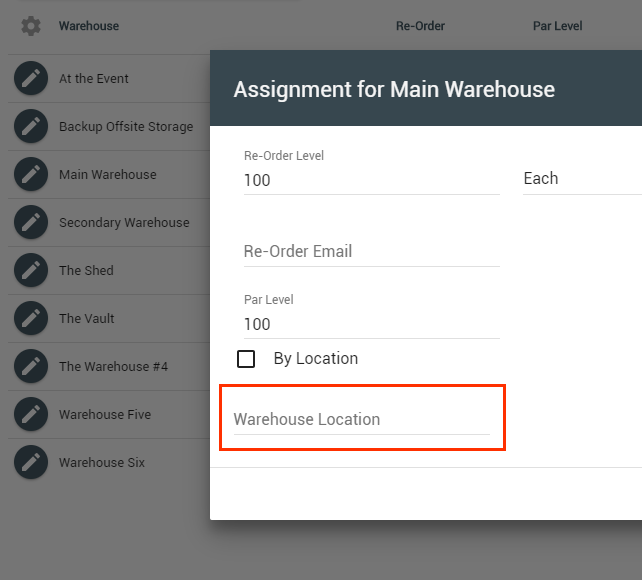
- Select the pencil edit button to the left of the warehouse you want to assign a default location in.
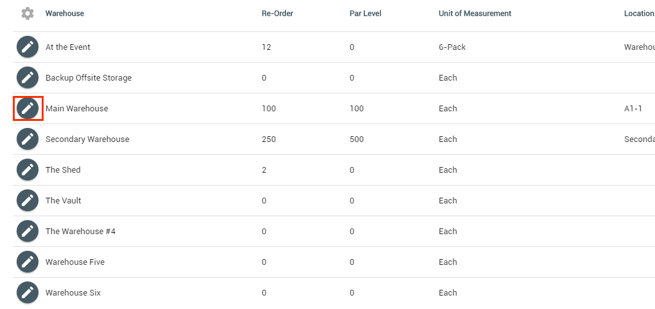
- Select the "Warehouse Location" field. This will display a list of all locations in the selected warehouse for you to choose from.
- Assign a new default item location and be sure to click the "Save" button to complete the edit.