-1.png?height=120&name=Untitled%20design%20(24)-1.png)
Added Feature: Release 3.77, 11.18.21:
- 3PL: added the ability to associate miscellaneous charges when receiving a return for a client order.
Managing customer returns in Zenventory involves a 2-step process: Initiating the RMA and then receiving the return.
- To initiate a return or see returns in progress, use the left-hand navigation panel and select Orders -> Returns.

- In the top section of the page, you can initiate a return for a particular order number by typing in the order number and pressing the "+" button to the right of the field.
- A pop-up window will appear showing the contents of the order and allowing you to set quantities to be returned of each line item. You will also be able to choose between refunding or replacing the item upon receipt of the return. Press the Submit button after making your selections.
- Your return will now appear in the Expected tab on the returns page. You can later receive this return when it arrives by pressing the play button to the left of your order numbers. If you have a sizable list of returns to filter through, you can use the search fields at the top to narrow down your results.
- After pressing the play button, you'll be able to select which specific location you are receiving these items into within your warehouse, as well as the quantity and condition you find the items in.
- 3PL added functionality: When receiving a return for a client, the "add miscellaneous charge" button will be present on this screen.
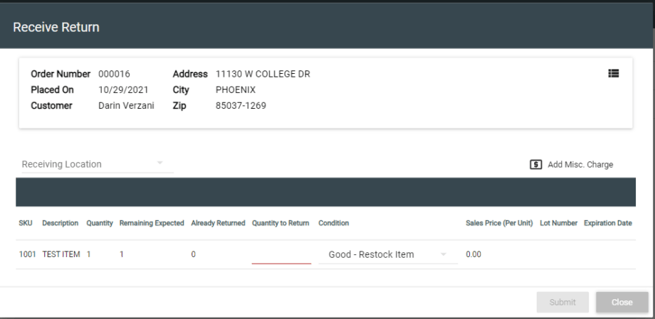
- After filling out all required fields, pressing submit will finish processing your return and will return the inventory to stock (or not) depending on the condition you noted on the previous screen.
- Your return is complete!